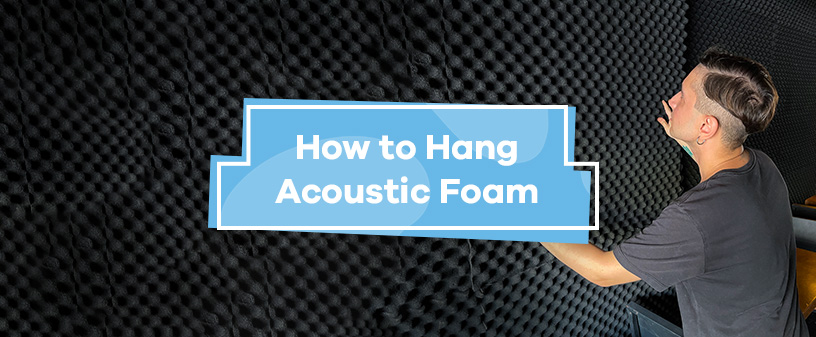
When you imagine a room where acoustic foam is needed, you’ll likely first think of a recording studio. Sound is of utmost importance for recording artists, so they use acoustic foam dampeners to try to control it. Acoustic foam reduces residual sound by dampening smaller, unwanted noises like echoes or general room noise, giving recording artists clearer and less cluttered sound.
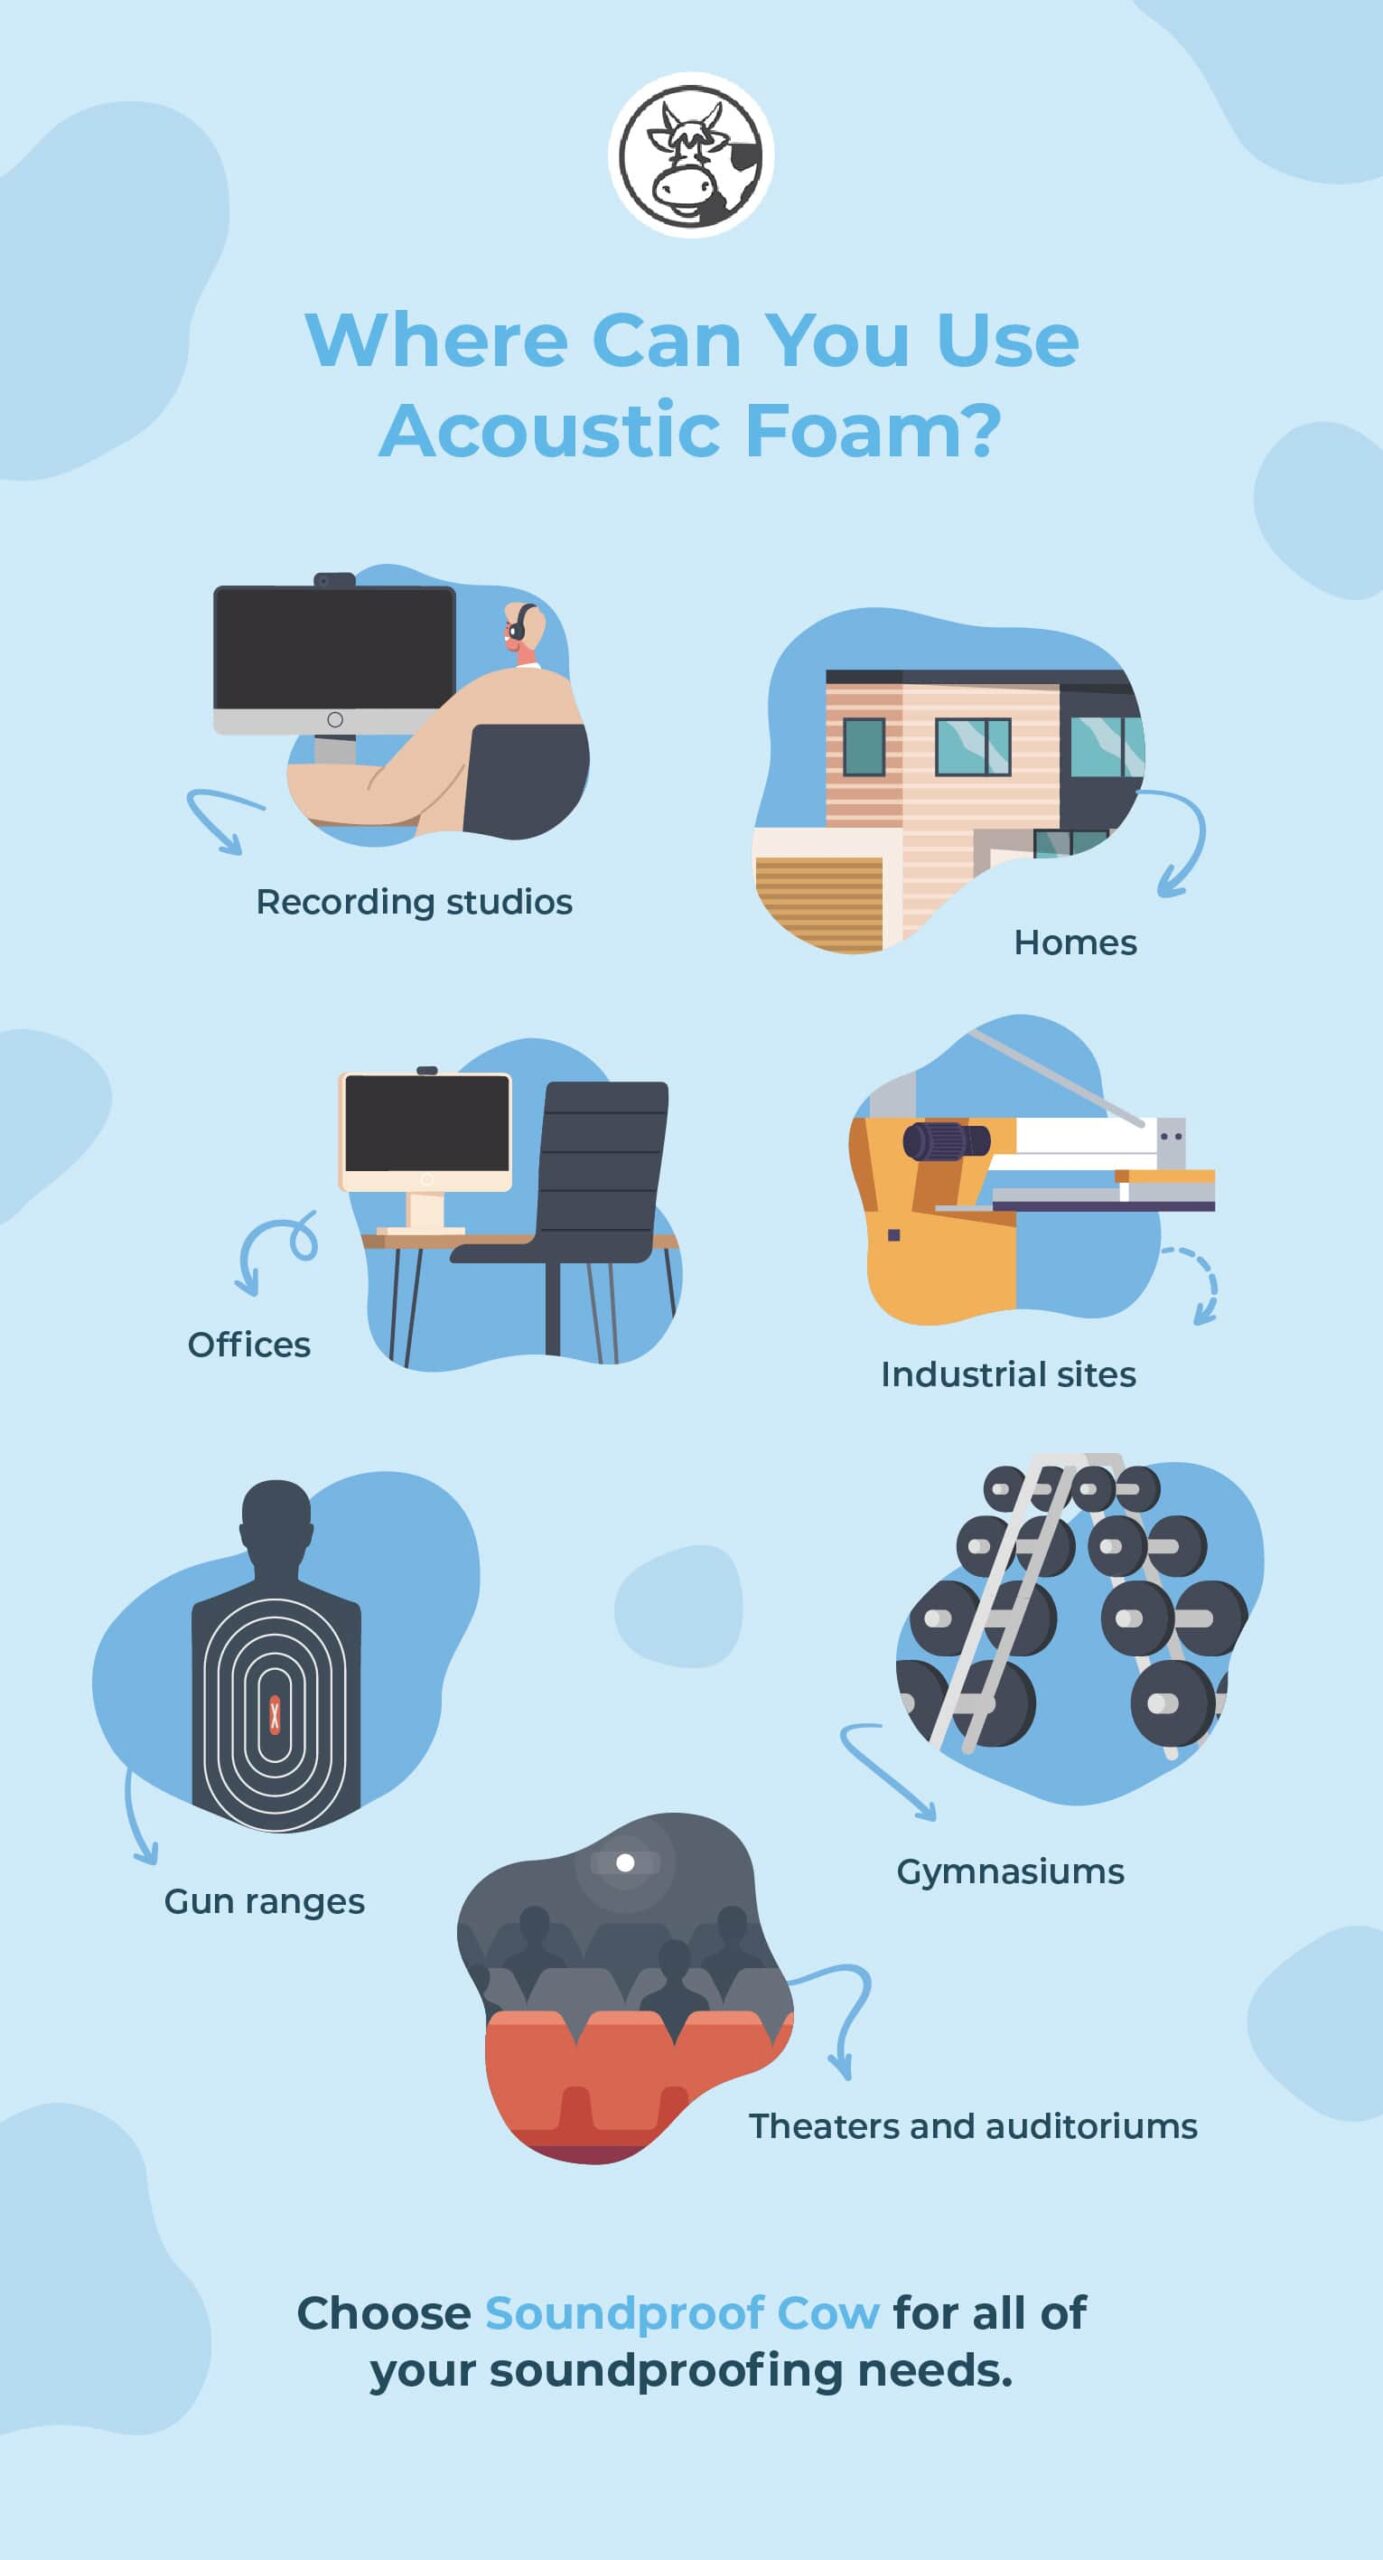
But while acoustic foam certainly helps at a recording studio, it can be usefully installed anywhere. If an area of your business or home suffers from loud or annoying noises, acoustic foam could be the solution. Hospitals, schools, theaters and more have all benefited from utilizing acoustic foam.
Hanging acoustic foam might seem difficult, but that’s why we’re here. In this guide, we’ll show you how to put up acoustic foam to get the best results for your space!
Reasons to Hang Acoustic Foam on Walls
Before we discuss how to hang acoustic foam, it’s important to know why you should hang it in the first place. There are many reasons to hang acoustic foam, including:
- Improving sound quality: For a recording artist, retaining sound quality is paramount. Acoustic foam helps prevent sound waves from bouncing back to your recording device, making your recorded sound that much clearer. It can also help improve the sound quality of auditoriums and home theaters by helping absorb sound waves.
- Cutting down on loud noises: Loud areas like an industrial site or a gun range can use acoustic foam to help dampen loud noises by absorbing sound waves. Acoustic foam can also help to soundproof loud areas of a house.
- Dampening background noise: Noises don’t have to be loud to bother us — small high-frequency sounds, the general buzz of a room and other background noises can become annoying or steal our focus. Acoustic foam can help dampen these noises, as well.
How Do You Put Soundproofing Materials Like Acoustic Foam on Walls?
Learning how to attach acoustic foam to a wall isn’t difficult, but it does require some planning to make sure you can get it right. If you follow these steps, you’ll have your acoustic foam on your walls in no time!
1. Determine a Location
Before you can hang your acoustic foam, you have to figure out the best place to put it. If you’re in a small room or are especially concerned with sound recording or sound quality, the best location for your acoustic foam will be on the walls.
Two of the best places to put acoustic foam in a smaller space are behind speakers and opposite your speakers. Putting acoustic foam behind your speakers will stop unwanted sound from bouncing back from behind and getting caught in a recording. This setup can also be ideal for home theaters or concert buildings.
Acoustic foam opposite your speakers will also reduce the amount of sound bouncing back to your recording device.
In a larger area, you can also consider putting acoustic foam or another sound dampener on the ceiling. While sound waves will still bounce off walls in a larger room, they’ll also likely travel to the ceiling. Putting sound dampeners on your ceiling in a larger room will be helpful in cutting down unwanted sounds.
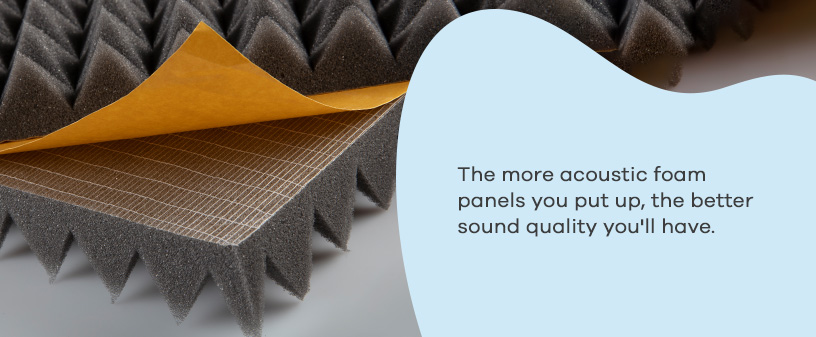
In general, the more acoustic foam you put on a wall, the more you’ll notice its effect. Even if you only put one panel of acoustic foam on the wall across from your speakers, you’ll still notice a definite sound improvement — but the more panels you put up, the better sound quality you’ll have.
2. Clean the Area
Once you have determined where to hang your acoustic foam, you need to prepare the area. An essential preparation step is making sure the wall is cleared of dirt and debris.
If you hang your acoustic foam on the wall without cleaning it, the dirt will make it more difficult for the adhesive to stick effectively to the wall. Similarly, if you clean the wall with regular household cleaners, the adhesive won’t stick as firmly.
Instead, use isopropyl alcohol and a clean rag for best results in cleaning the walls. Make sure all dirt and debris are removed from the entirety of the area where you plan to hang the acoustic foam.
3. Mark the Dimensions
After the area is clean, you can begin marking exactly where you want to hang your foam. Measure your foam pieces and then mark their measurements out on the desired location on your wall. This will make it much easier to precisely hang them.
As you mark out where you want your foam panels, be sure to keep the panels level. Level foam panels will give you the best sound results and will be the most aesthetically pleasing.
4. Hang the Acoustic Foam
Now you can finally hang your foam panels! The method for hanging acoustic foam can vary, depending on which panels you purchase and what type of adhesive you want to use on your walls.
All of Soundproof Cow’s acoustic foam products come with the option for a pressure sensitive adhesive. If you choose to use our adhesive, then attaching your sound foam to the wall is easy! Simply peel off the adhesive covering, stick it to the wall and rub and press the foam for about 30 seconds.
If you were unable to use our pressure sensitive adhesive, there are still other ways to attach foam to the wall. A common solution for sticking acoustic foam to walls is using adhesive spray. For this method, spray the back of the acoustic foam as well as the area of the wall where you will place it. After giving the spray about 10 seconds to set, place the foam panel on the wall and press for 30 seconds.
You can also use tacks, nails or adhesive strips to apply your foam to the wall.
Finally, if you are afraid of damaging your wall, you can instead use the adhesives to apply the acoustic foam to a piece of plywood or thick cardboard. From there, you can use small nails or Command strips to attach the plywood to the wall. This will then be much easier to move if you wish, and it will do less damage to your wall.
Recommended Acoustic Foam Products
It can sometimes seem overwhelming deciding what sort of acoustic foam products to purchase. Here are some of our recommended acoustic foam products:
- Acoustic Foam Kits: With Soundproof Cow’s Acoustic Foam Kits, you can select the size of your workspace and receive enough pieces for a professional acoustic foam setup. Even the smallest kits have 18 foam panels, four corner traps and 24 bass wedges, making sure you have everything you need to soundproof your space and removing the confusion of deciding what to purchase.
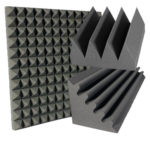
- Pyramid Acoustic Foam: Because of their extra surface area, pyramids are a great shape for sound dampening foam — and they bring a great aesthetic quality to any room. Our Pyramid Acoustic Foam is perfect for reducing unwanted noises while also looking great.
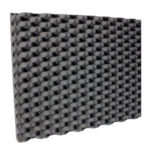
- Udderly Quiet® Anechoic Acoustic Foam: Like our Pyramid Foam, our Udderly Quiet® Anechoic Acoustic Foam is specially designed to have increased surface area for better sound dampening. Flexible yet firm, this high-quality acoustic foam is perfect for any situation.
Purchase Acoustic Foam Panels
Hanging acoustic foam panels is as easy as finding a spot, cleaning the wall, measuring the dimensions and finally adhering the foam. Adding acoustic foam to your walls benefits not only recording artists, but also auditoriums, gun ranges, theaters, gymnasiums and more.
Soundproof Cow offers high-quality acoustic foam products for all of your home or business needs. You can browse our products to find the perfect acoustic foam panel for your space, or you can contact our friendly customer service representatives with any questions today!


